
blue snowball microphone manual
Need help with your Blue Snowball microphone? Find the official manual & troubleshooting tips here! Unlock crystal-clear audio for podcasts, streaming & more. **Blue Snowball** made easy.
The Blue Snowball is a user-friendly USB microphone, celebrated for its simplicity and quality. It’s a popular choice for beginners
seeking improved audio for recording, streaming, and podcasting.
What is the Blue Snowball?
The Blue Snowball is a USB microphone designed for ease of use, offering a significant upgrade over built-in computer microphones. It’s a condenser microphone, capturing a wider frequency range and delivering clearer, more detailed audio.
This makes it ideal for various applications, including podcasting, voiceovers, streaming, and online communication. Its retro aesthetic and straightforward plug-and-play functionality contribute to its widespread appeal, especially among novice users.
Key Features and Benefits
The Blue Snowball boasts several key features. It offers multiple polar patterns – cardioid for focused recording and omnidirectional for capturing ambient sound. A dedicated gain control allows for adjusting input levels, while the built-in pop filter minimizes plosives.
Benefits include improved audio quality, simple USB connectivity, and a compact, portable design. It’s a cost-effective solution for achieving professional-sounding recordings without complex setups.
Unboxing and Components
The Blue Snowball package typically includes the microphone itself, a USB cable for connectivity, and a tabletop tripod stand for convenient placement.
What’s in the Box?
Opening your Blue Snowball reveals a carefully packaged set of components designed for immediate use. You’ll find the Snowball microphone itself, prominently displayed. A USB 2.0 cable is included, essential for connecting the microphone to your computer for power and data transfer.
Additionally, a sturdy tabletop tripod stand is provided, offering a stable base for positioning the microphone. Some packages may also contain a quick start guide, offering basic setup instructions. Finally, you might find a safety leaflet with warranty information.
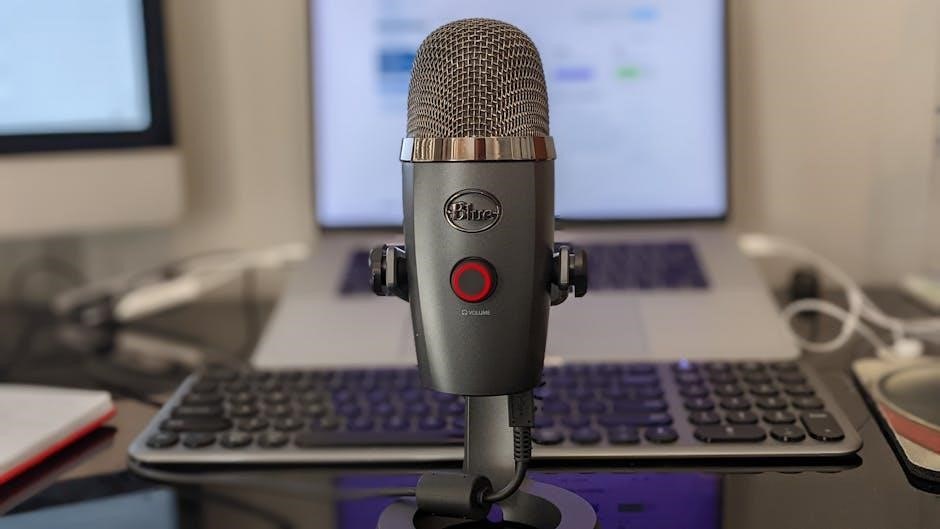
Identifying the Microphone Parts
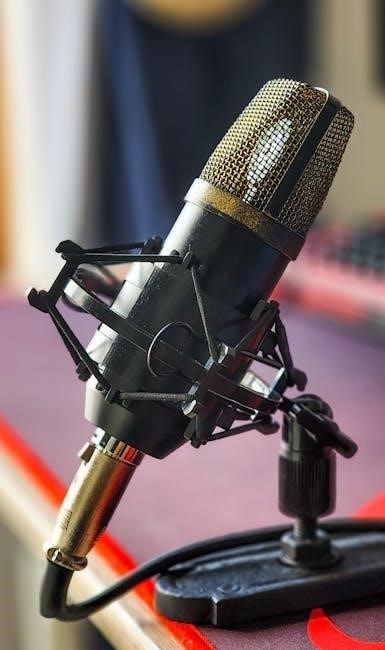
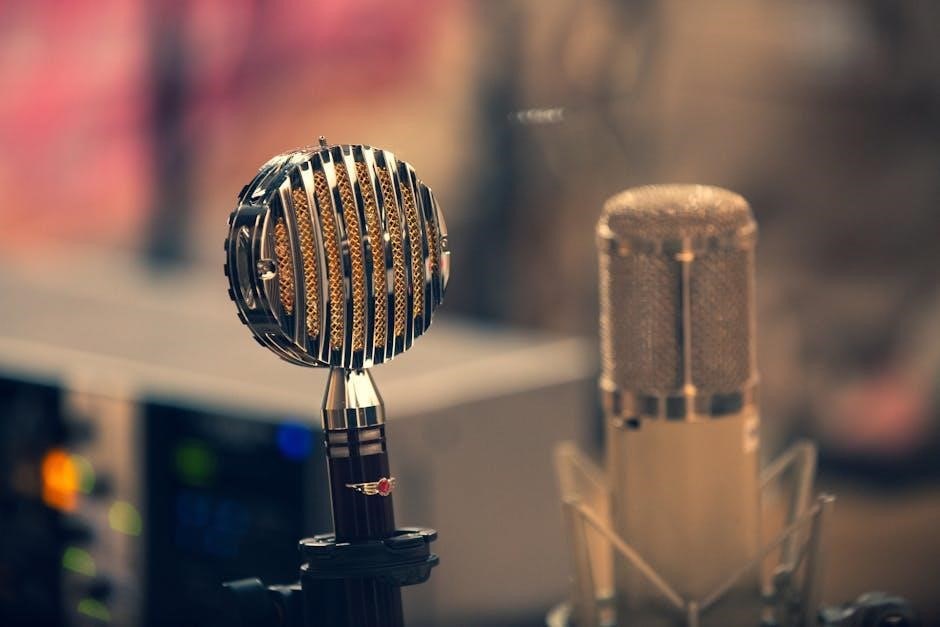
The Blue Snowball features a spherical microphone head, housing three condenser capsules. A prominent Blue logo adorns the front. Locate the gain control dial on the front, used to adjust recording volume. At the base, you’ll find the USB port for connection.
The included tabletop tripod has adjustable legs for optimal positioning. Understand these key parts – the microphone head, gain control, USB port, and tripod – to effectively use your Snowball.
Setting Up Your Blue Snowball
Initial setup is remarkably simple: connect the USB cable to your computer. The Snowball is generally plug-and-play, requiring no complex installation procedures.
Connecting to Your Computer (USB)
Establishing a connection with your computer is straightforward. Locate the USB port on your Blue Snowball microphone and plug the included USB cable securely into it. Then, connect the other end of the USB cable to an available USB port on your computer – USB 2.0 or higher is recommended for optimal performance.
Once connected, your computer should automatically detect the microphone. You may see a notification confirming the new device is recognized. If it doesn’t, try a different USB port or restart your computer.
Driver Installation (if required)
Generally, the Blue Snowball is a plug-and-play device and doesn’t require additional driver installation on Windows or macOS. Your operating system should automatically recognize and configure the microphone upon connection via USB. However, if you encounter issues, visiting Blue’s support website is advisable.
There, you might find updated drivers or troubleshooting steps specific to your operating system version. Always download drivers directly from the official Blue Microphones website to ensure safety and compatibility.
Understanding the Controls
The Blue Snowball features a simple control scheme: a gain control knob and a polar pattern switch. These allow users to adjust recording volume and directionality.
Polar Patterns Explained (Cardioid, Omnidirectional, etc.)
The Blue Snowball offers multiple polar patterns, influencing how it captures sound. Cardioid mode records sound primarily from the front, ideal for solo vocals or instruments, rejecting background noise. Omnidirectional picks up sound equally from all directions, suitable for recording multiple sources or ambient sounds.
Selecting the appropriate pattern is crucial for optimal recording quality. Experimenting with each setting helps tailor the microphone’s sensitivity to your specific recording environment and desired outcome, ensuring clear and focused audio capture.
Gain Control Adjustment
The Blue Snowball’s gain control adjusts the microphone’s sensitivity, impacting recording volume. Increasing gain boosts the signal, useful for quiet sources, but can introduce noise if set too high. Decreasing gain reduces the signal, preventing distortion from loud sources.
Proper gain staging is vital for clean audio. Monitor levels while speaking or playing, adjusting the gain to achieve a strong signal without clipping or excessive background noise. Careful adjustment ensures optimal recording quality.
Using the Blue Snowball for Recording
The Blue Snowball excels at capturing vocals, instruments, and podcasts. Its versatility and ease of use make it ideal for various recording applications.
Recording Vocals
For optimal vocal recordings with the Blue Snowball, position yourself approximately 6-12 inches from the microphone. Utilize the cardioid polar pattern to minimize background noise and focus on your voice. Experiment with gain control to achieve a clear, strong signal without distortion.
Consider using a pop filter to reduce plosives (“p” and “b” sounds) and sibilance (“s” sounds). A quiet recording environment is crucial for professional-sounding vocals; minimize echoes and ambient sounds.
Recording Instruments
When recording instruments with the Blue Snowball, experiment with polar patterns. Cardioid is ideal for single instruments, while omnidirectional can capture room ambience for a fuller sound. Adjust the gain carefully to avoid clipping, especially with louder instruments like drums or electric guitars.
Positioning is key; find the sweet spot where the instrument sounds balanced and clear. Consider using a stand to maintain consistent microphone placement during recording sessions.
Podcast Recording Techniques
For podcasting, the Blue Snowball’s cardioid pattern minimizes background noise, focusing on your voice. Maintain a consistent distance – around 6-8 inches – for optimal audio levels. Utilize a pop filter to reduce plosives (“p” and “b” sounds).
Record in a quiet space, and consider acoustic treatment like blankets or foam to improve sound quality; Editing software can further refine your podcast’s audio.
Software Compatibility
The Blue Snowball seamlessly integrates with both Windows and macOS operating systems, requiring no specialized drivers for basic functionality.
Compatibility with Windows
The Blue Snowball demonstrates excellent compatibility across various Windows versions, including Windows 7, 8, 10, and 11. Typically, it operates on a plug-and-play basis, meaning Windows automatically recognizes and configures the microphone upon connection via USB.
However, for optimal performance or to access advanced settings, downloading the latest version of the Blue Sherpa software is recommended. This software provides control over gain, polar patterns, and sample rates, enhancing the recording experience on Windows systems.
Compatibility with macOS
The Blue Snowball offers seamless compatibility with macOS, supporting versions from macOS 10.10 Yosemite onwards, including the latest iterations. Like Windows, macOS generally recognizes the microphone immediately when connected via USB, enabling straightforward audio recording.
To unlock the full potential of your Blue Snowball on macOS, utilizing the Blue Sherpa software is advised. This application grants access to customizable settings, such as polar pattern selection and gain adjustment, optimizing audio capture for various applications.
Software for Editing Audio
Numerous software options are available for editing audio recorded with the Blue Snowball. Audacity, a free and open-source program, is excellent for basic editing tasks like trimming, noise reduction, and applying effects. For more advanced features, consider Adobe Audition or GarageBand (included with macOS).
These programs allow you to refine your recordings, remove unwanted sounds, and enhance overall audio quality, ensuring a professional finish for podcasts, voiceovers, or musical projects.
Troubleshooting Common Issues
Common problems include the microphone not being recognized or experiencing poor audio quality. Checking USB connections and driver installations are crucial first steps for resolution.
Microphone Not Recognized
If your computer doesn’t detect the Blue Snowball, begin by trying a different USB port. Ensure the cable is securely connected at both ends. Restarting your computer can often resolve temporary glitches. Check Device Manager (Windows) or System Information (macOS) to see if the microphone appears, even with errors.
If listed with an error, update or reinstall the USB audio drivers. Sometimes, other USB devices can cause conflicts; try disconnecting unnecessary peripherals. A faulty USB cable could also be the culprit, so testing with a known working cable is recommended.
Poor Audio Quality
Experiencing muffled or distorted sound? First, adjust the gain control on the Snowball – too high causes clipping, too low results in a weak signal. Ensure the correct polar pattern is selected for your recording environment. Reduce background noise by recording in a quiet space, using a pop filter, or a shock mount.
Check your computer’s audio input settings to confirm the Snowball is selected as the default recording device. Experiment with microphone placement; proximity affects sound quality. Finally, software settings within your recording application may also need adjustment.
Care and Maintenance
To maintain your Blue Snowball, gently wipe the microphone with a dry cloth. Avoid liquids! Store it in a dust-free location when not in use for longevity.
Cleaning the Microphone
Regular cleaning ensures optimal performance. Always disconnect the Blue Snowball before cleaning. Use a soft, dry microfiber cloth to gently wipe the microphone body and grill. Avoid abrasive cleaners or solvents, as these can damage the finish. For stubborn marks, lightly dampen the cloth with water, ensuring no moisture enters the microphone capsule. Never submerge the microphone in water or any other liquid. Pay attention to the pop filter, cleaning it separately with a similar gentle method to remove dust and debris buildup.
Storage Recommendations
Proper storage protects your investment. When not in use, store the Blue Snowball in a cool, dry place, away from direct sunlight and extreme temperatures. Consider using the original packaging or a padded case for added protection against dust and physical damage. Avoid storing it near magnetic fields or sources of vibration. Disconnect the USB cable and store it separately to prevent strain on the connector. Regular, careful storage extends the microphone’s lifespan and maintains its quality.
Advanced Settings & Customization
Enhance recordings with accessories like pop filters, reducing plosives, and shock mounts, minimizing vibrations; Experiment with software settings for optimal sound quality.
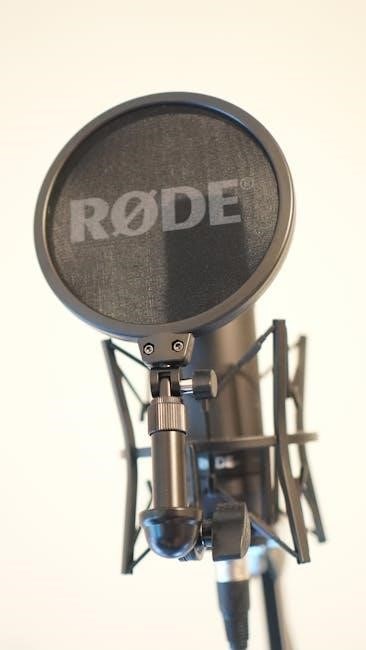
Using with a Pop Filter
A pop filter is crucial for clean vocal recordings with the Blue Snowball. It sits between your mouth and the microphone, diffusing harsh “p,” “b,” and “t” sounds – known as plosives. These sounds can cause disruptive bursts of air that overload the microphone and distort audio.
Attaching a pop filter significantly improves recording clarity, especially for spoken word content like podcasts or voiceovers. Many affordable pop filter options are available, easily mounting onto the Snowball’s stand. Proper placement, a few inches from the microphone, yields the best results.
Shock Mount Usage
A shock mount isolates the Blue Snowball from vibrations transmitted through the desk or microphone stand. These vibrations – from typing, bumps, or even air conditioning – can create unwanted rumble in your recordings. A shock mount suspends the microphone using elastic straps, effectively dampening these disturbances.
Using a shock mount results in a cleaner, more professional sound, particularly noticeable in quiet recording environments. While not essential, it’s a valuable addition for serious recording, minimizing unwanted noise and enhancing overall audio quality. Ensure a snug, secure fit for optimal performance.
Frequently Asked Questions (FAQ)
Common questions address differences between models and smartphone compatibility. Users often inquire about troubleshooting steps and warranty details for their Blue Snowball microphone.
What is the difference between the Blue Snowball and Snowball iCE?
The primary distinction lies in features and versatility. The Blue Snowball offers multiple polar patterns – cardioid, omnidirectional, and stereo – providing flexibility for various recording scenarios like vocals, instruments, and meetings. Conversely, the Snowball iCE features only a cardioid pattern, optimized for direct sound source capture, making it simpler and more affordable.
The iCE is generally considered a more basic, entry-level option, while the Snowball provides greater control and adaptability for diverse audio projects.
Can I use the Blue Snowball with my smartphone?
Direct connection to a smartphone isn’t natively supported as the Blue Snowball utilizes a USB connection. However, you can achieve smartphone compatibility with an adapter. Specifically, a USB to Lightning adapter (for iPhones) or a USB-C adapter (for many Android devices) is required.
Ensure the adapter supports audio input. While functional, audio quality might be slightly compromised compared to computer recording.
Warranty Information
Blue Microphones offers a limited one-year warranty covering defects in materials and workmanship. Proof of purchase is required for all warranty claims and service requests.
Blue Microphone Warranty Details
Blue’s warranty covers defects in materials and workmanship under normal use for one year from the date of original purchase. This doesn’t include damage from misuse, accidents, or unauthorized modifications.
To initiate a claim, contact Blue Support with your proof of purchase. They will provide instructions for returning the microphone for evaluation and potential repair or replacement. The warranty is non-transferable and applies only to the original purchaser.
Contacting Blue Support
For assistance with your Blue Snowball, visit the official Blue Microphones support website. There, you’ll find a comprehensive knowledge base, FAQs, and troubleshooting guides. If you require direct assistance, you can submit a support request through their online form or reach out via email. Response times may vary depending on inquiry volume; Be prepared to provide your microphone’s model and serial number for efficient support.